In this article, we’ll explain the way to set up caching in WordPress using a popular plugin.
Why do I need browser caching on my WordPress website?
Caching is a way of speeding up your website’s loading time. It does this by getting a user’s browser or device memory to store elements of your webpage so that when they visit a page again, only the changed or dynamic content must be downloaded.
This will significantly reduce the amount of time a webpage takes to load.
Website loading speed is vital for 2 reasons. Firstly, it helps to stop users leaving the website because it loads too slowly, and, secondly because search engines use site speed as a ranking criterion when displaying search results.
What plugin should I use for browser caching?
There are quite a few caching plugins to select from in the WordPress repository. While we aren’t recommending any particular plugin here, we do suggest that you choose one which is compatible with your version of WordPress, is kept up-to-date by the developer, and which has good reviews from users.
How to set up caching using WP Total Cache
1. Log in to your WordPress admin panel.
2. Scroll to Plugins > Add New.
3. In the Add New page search bar, type ‘Caching’. A list of all the caching plugins will be displayed, so if you’d rather select another plugin, you’ll choose one here.
4. Find WP Total Cache and click the Install Now button.
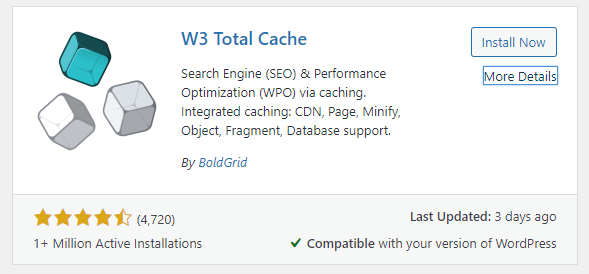
5. Once the installation is complete, click the Activate button.
6. Once you activate WP Total Cache, a new item, Performance, will be added to the left-hand menu of your website dashboard.
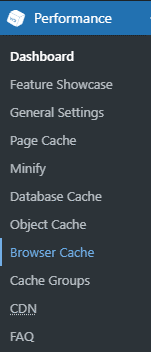
7. Navigate to Performance > General Setting.
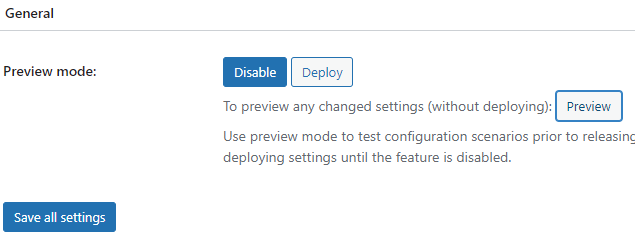
8. In the General section, enable Preview Mode and click on Save All Settings. Preview Mode allows you to see the consequences that your WP Total Cache settings have on your website before making them live. This will allow you to check your settings options to make sure they don’t stop your website from working properly.
9. Scroll to the Page Caching section, check the Enable box and click on the Save Settings & Purge Cache button.
10. Scroll up to the General section, click the Preview button and make sure your website is working as expected.
If it isn’t, scroll back to the Page Caching section, uncheck the Enable box and click on the Save Settings & Purge Cache button. This will disable Page Caching.
11. If everything is ok, repeat the method for the Database Cache and Browser Cache.
Remember: enable these one at a time, click Save Settings & Purge Cache after checking the Enable box and preview the changes before moving on to the next section.
If any affect your site, disable by unchecking the enable box and clicking Save Settings & Purge Cache.
12. Once your caching options have been enabled and the previews show that your site is functioning as it should, you can make these changes live. To do this, scroll up to the General box, click the Deploy button then click the Save All Settings button.
13. Caching will now be set up on your website and your website will load faster on users’ browsers.
For more help with your hosting, visit our Knowledgebase.
