Is your website stuck in maintenance mode? During updates, WordPress displays a temporary notice on your site that reads: “Briefly unavailable for scheduled maintenance. Check back in a minute”. However, this message may sometimes remain visible after a few minutes, thus preventing visitors from accessing your site.
Thankfully, fixing this error doesn’t require technical expertise. The maintenance mode issue is one of the easiest WordPress issues to resolve — and stop.
In this article, we’ll check out the main causes of the WordPress maintenance mode error. We’ll also show you a fast fix for this problem and share some tips to assist you to avoid an equivalent issue in the future. Let’s get started!
What the Maintenance Mode Error Is (And What Causes It)
When updating core software, themes, or plugins, WordPress puts your site in maintenance mode. It does this by creating a temporary .maintenance file in the root folder of your site.
Anyone who visits your site during the update process will see the following message: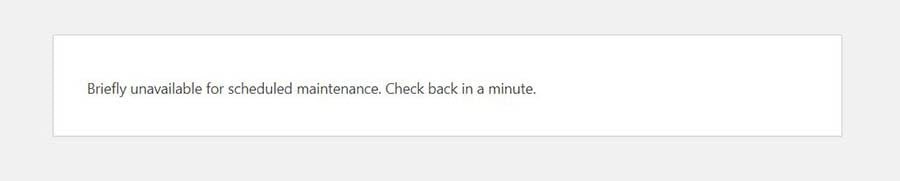
Typically this notice is only up for a couple of seconds. Once the updates are done, WordPress automatically deletes the .maintenance file, and the message disappears from your site.
However, an error may prevent your site from completing updates. When this happens, the maintenance notice stays up on your site, making it inaccessible. There are some reasons your site could be stuck in maintenance mode:
• You may have closed the browser window in the middle of an update.
• You may have tried updating a lot of plugins at an equivalent time.
• The update script may have timed out due to a slow hosting server response or a low memory problem.
To resolve this issue, you may need to increase your site’s PHP memory limit. However, we’ll also be looking at two other simple fixes for this maintenance mode error.
How to Fix the “Briefly Unavailable For Scheduled Maintenance” Error in WordPress
Luckily, there’s a very fast way to fix the WordPress maintenance error in WordPress. All you have to do is delete the .maintenance file from your site’s root directory.
First, you’ll need to connect to your site using a Secure File Transfer Protocol (SFTP) customer like FileZilla. Alternatively, you’ll access your site by logging into your web hosting account and using the file manager.
If you have a Servers Gate account, you’ll navigate to WordPress > Managed WordPress in the sidebar, find your domain, and choose Manage.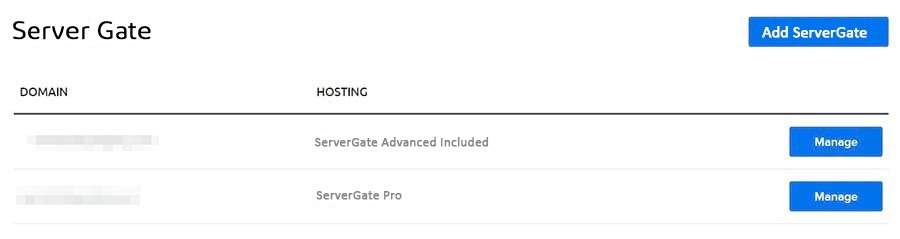
On the next page, click on the Manage Files button in the Details section. In the file manager, open the folder with your Domain name.
In your site’s root directory, open the public_html folder, locate the .maintenance file, and delete it.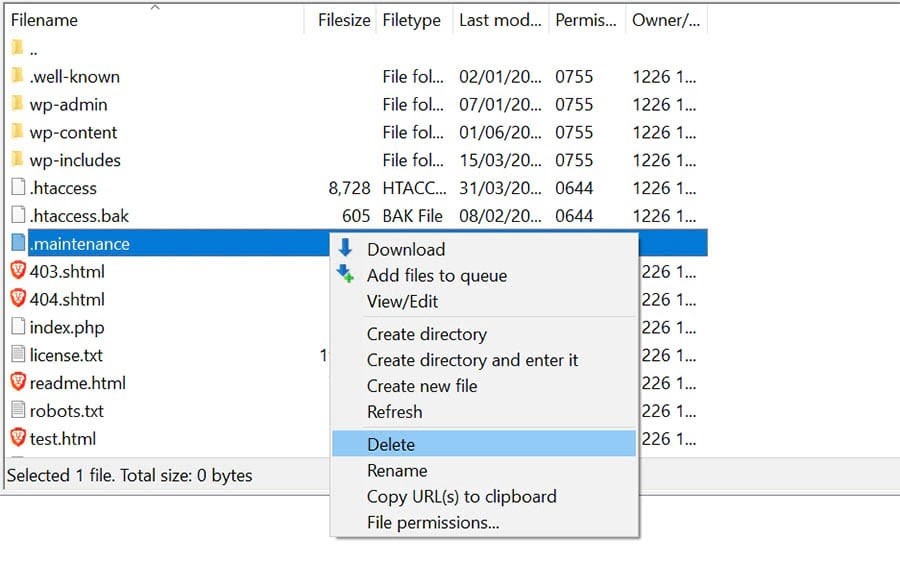
If you’re using an SFTP customer and can’t see the file in the directory, it may be hidden. To find it, go to the menu and click on Server > Force showing hidden files.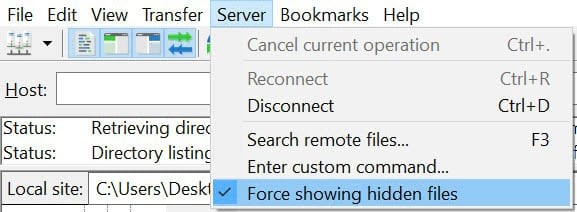
Your site should now be out of maintenance mode. If you’re still getting the error message, you may need to update the wp-activate.php file.
To do this, return to your site’s root directory and find the wp-activate.php file.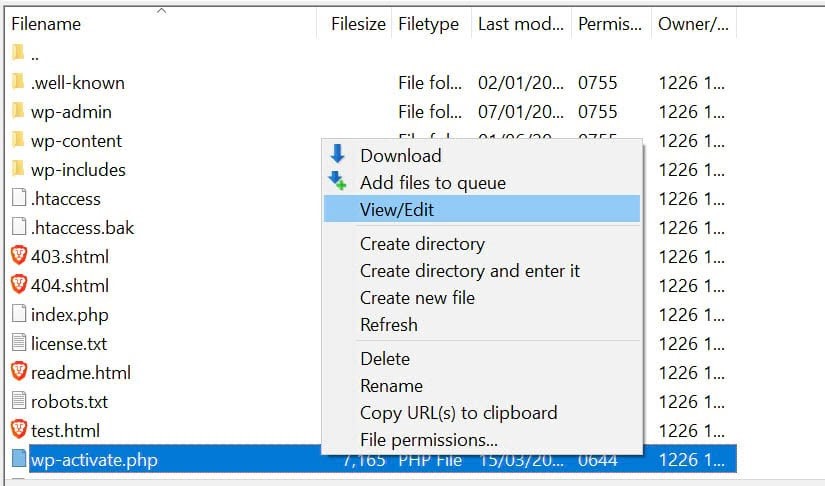
If you’re connected to your site via your hosting account, you may be ready to open and edit the file within the file manager. Alternatively, you’ll download it to your computer.
Open the wp-activate.php file and locate the following line of code:
define ('WP_INSTALLING', true)
Next, change the value “true” to “false” so that the code seems like this:
define ('WP_INSTALLING', false)
Save your changes and close the file. If you’ve been using the file manager in your hosting account, you don’t need to do anything else. If you’ve edited the wp-activate.php file on your computer, you’ll need to upload it to your site’s root directory.
Once you’ve done the above steps, return to your site and refresh it. You should now be out of maintenance mode.
How to Prevent the Maintenance Mode Error
When your site gets stuck in maintenance mode, people are unable to look at your content. Thus, if you fail to notice the matter straight away, you’ll lose potential conversions.
Luckily, there are some steps you’ll take to prevent this error in the future:
• You can update your plugins and themes one at a time. While updating plugins in bulk saves you a little time, it can lead to conflicts and errors during the method.
• You can upgrade your hosting plan. It’s the best idea to select a managed WordPress hosting plan for enhanced site performance and fewer technical problems.
• You can check the compatibility of your themes and plugins with your current version of WordPress. For this, you’ll want to set up a staging site so you’ll test new themes and plugins on an offline platform before making your changes live.
Moreover, you’ll want to avoid closing your browser until all updates are complete.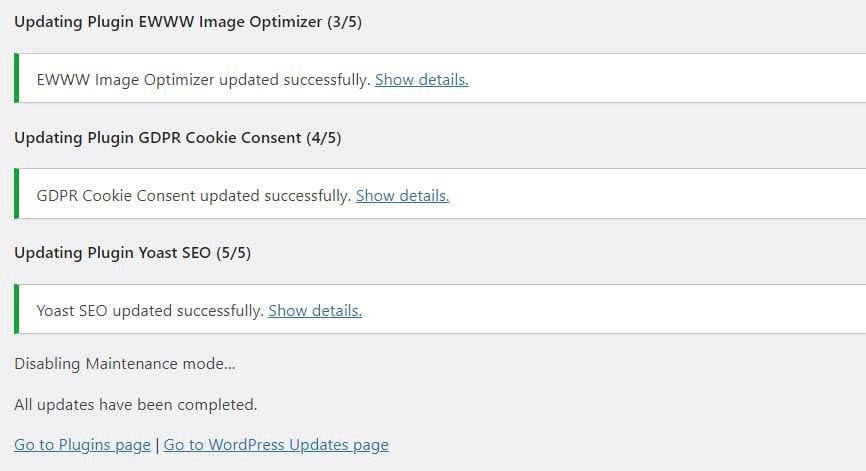
If you exit the browser before then, WordPress won’t be ready to update and remove the .maintenance file. You’ll know that updates are ready once you see the “All updates are completed” status, as shown in the screenshot above.
We also recommend that you check your site when running updates. This way, if the maintenance error does crop up again, you’ll be ready to spot it and get it fixed instantly.
How to Customize the Maintenance Mode Notice
You can also avoid the default WordPress maintenance notice by using a plugin. This may enable you to manually put your site in maintenance mode before running any updates. You’ll even be ready to customize the message.
One popular tool you’ll use is the Seed Prod plugin. After installing and activating the plugin, navigate to Seed Prod > Pages in your admin dashboard. Then click on set up a Maintenance Mode Page.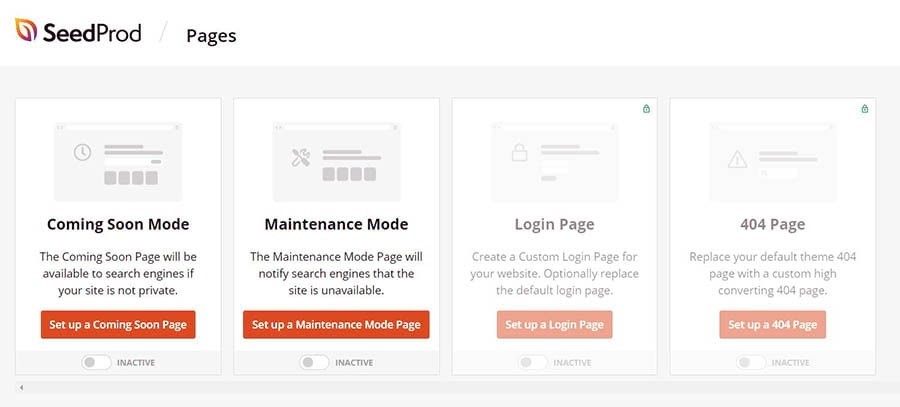
Next, you’ll select a template and customize it to your liking. Note that some templates and features are only available in the premium version of the plugin.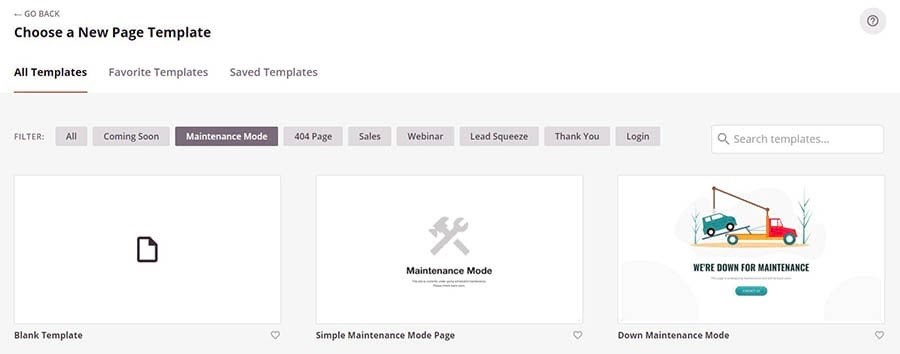
Every time you need to run updates, you’ll head to SeedProd > Pages and simply activate your maintenance mode page. This will replace the default WordPress maintenance message.
Another option you’ll want to think about is the Maintenance plugin. Install and activate the plugin, then click on Maintenance in your dashboard and edit the text you want to be displayed on your maintenance page.
You can also select a premium pre-built theme. The plugin also lets you choose pages and posts that you want to exclude from maintenance mode. Once you’re done, click on the blue Save Changes button.
Similarly, the WP Maintenance Mode plugin lets you create your own maintenance page. After activating the plugin, navigate to Settings in your dashboard and choose WP Maintenance Mode.
To customize the content of your page, click on the Design tab.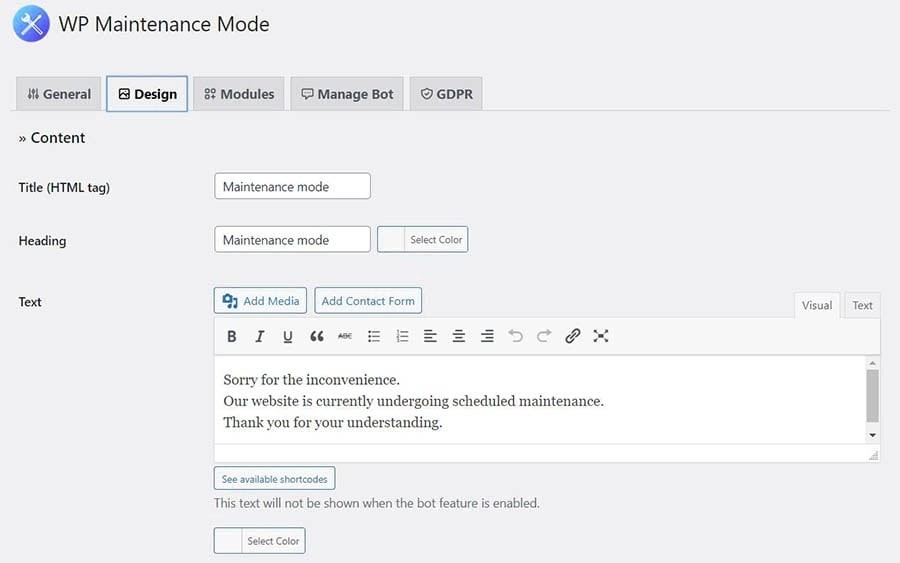
When you’re done, click on Save Settings at the bottom of the page. To activate maintenance mode, go to the General tab and choose the Activated option.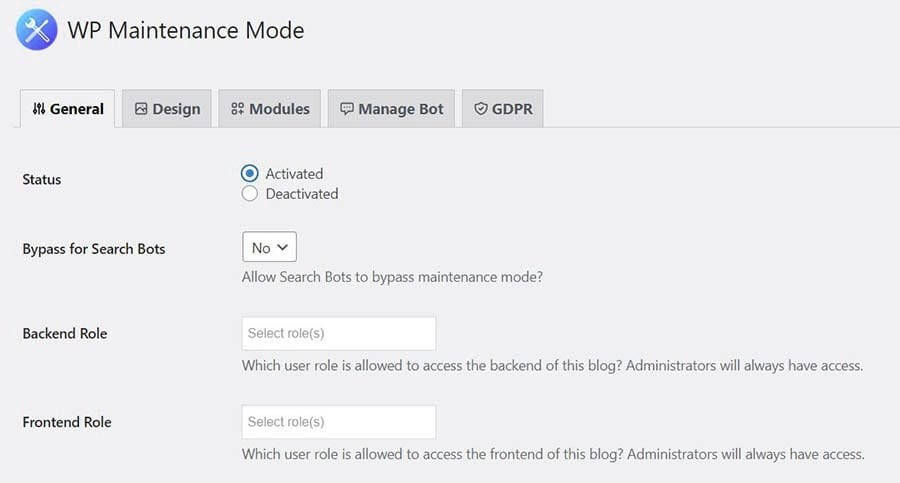
You can also use these maintenance mode plugins for other purposes. For instance, you can activate them while making some major changes to your content or working on a specific page or section on your website.
Fix the Briefly Unavailable For scheduled Error
WordPress puts up a notice on your site during updates to let visitors know it’s currently under maintenance. This message is only visible for a couple of seconds, but an error during the updating process may result in your site getting stuck in WordPress maintenance mode.
To fix the maintenance mode error, you simply need to delete the .maintenance file in your site’s root directory. You’ll also prevent this problem from cropping up again by running updates one at a time, ensuring that your plugins are compatible with the newest WordPress version, or upgrading to a better hosting plan.
Are you trying to find an advanced hosting solution for your WordPress site? Our Servers Gate plans offer high-performance WordPress hosting with 24/7 expert support. This means that we look out of all your technical issues, so you can focus on growing your business.
