
Download monitor is a powerful file management plugin that provides an intuitive user interface for managing and uploading downloadable files. It allows you to track the total number of downloads with IP address and country of the users downloading the files.
The plugin uses the WordPress media uploader interface that allows you to upload files easily using just drag and drop. When you are adding a lot of similar downloads, for instance, the clone tool allows you to easily duplicate your downloads.
The plugin offers many features like terms and conditions for downloads, Google reCAPTCHA, display downloads by popularity, members-only downloads, and many more. You can also use popular extensions like Page Addons, Gravity Form Lock, CSV Importer, and more to increase plugin functionality.
It’s an ideal plugin for those who want to sell digital downloads with WordPress. If you don’t want to sell your files, just manage them, then the free download monitor plugin might be exactly what you need.
Let’s look at key features provided by the plugin:
Features
- Keep track of downloads, including total, daily average, and most popular
- Allows you to set up paid downloads within your website
- Allows you to create download categories and tags
- Display file size, version, and publish date for a download item
- Display download links on the front-end using shortcodes
- Member-only downloads
- User must be logged in to download your files
- Set download button anywhere on the page using shortcode
- Allows you to add popular extensions
How to Use Download Monitor on your WordPress Website
For using “Download Monitor” on your WordPress website, the first step you need to do is install and activate it.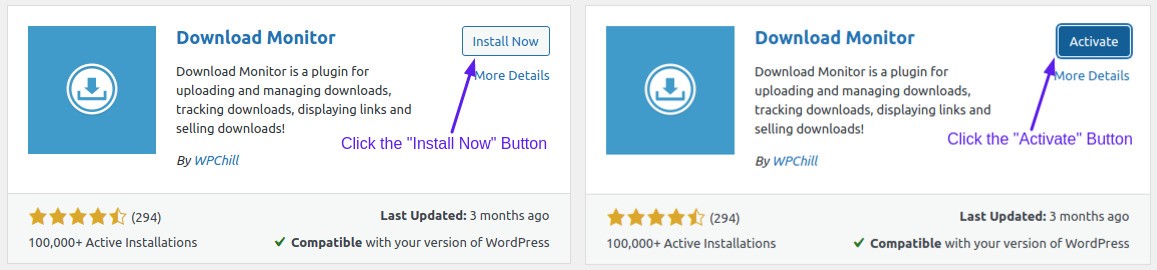
Install and activate the Download Monitor Plugin
Installing a plugin is an easy process. Simply log in to your WordPress admin panel and click on the “Plugins >> Add New” button and type “Download Monitor” on the search box. Find the correct plugin, install and activate it.
Now let’s complete the configuration process.
CONFIGURING THE PLUGIN
After activating the plugin, click the notification link that came at the top of the Plugins page.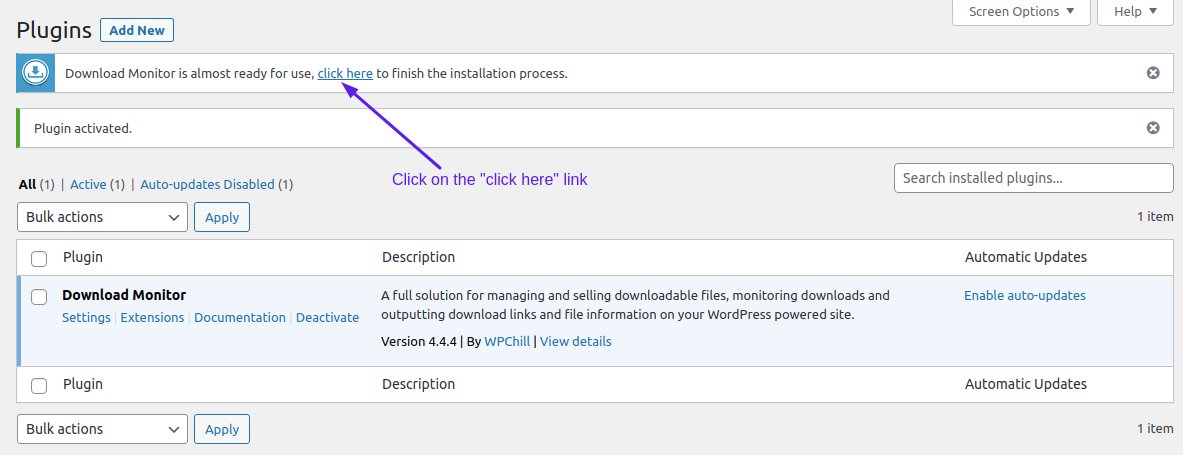
To function properly, the plugin needs to create a page on your WordPress website. Remember, if you don’t plan on selling downloads, then don’t have to create a “Cart” and “Checkout” page. For instance, we create the “No Access” page.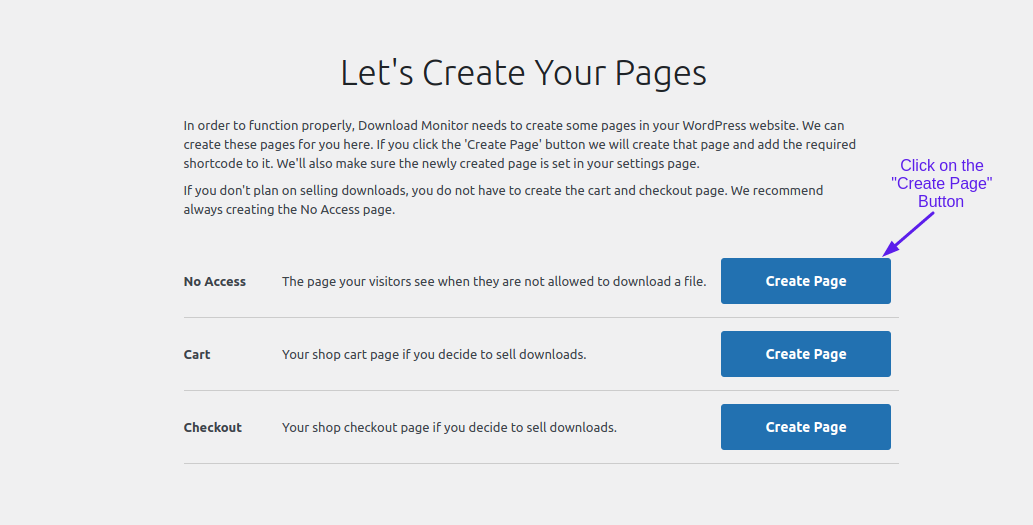
The configuration process is now completed. Let’s create a download.
CREATING A DOWNLOADS
In your WordPress dashboard click on the “Downloads >> Add New “ button to create downloads. It will show you this: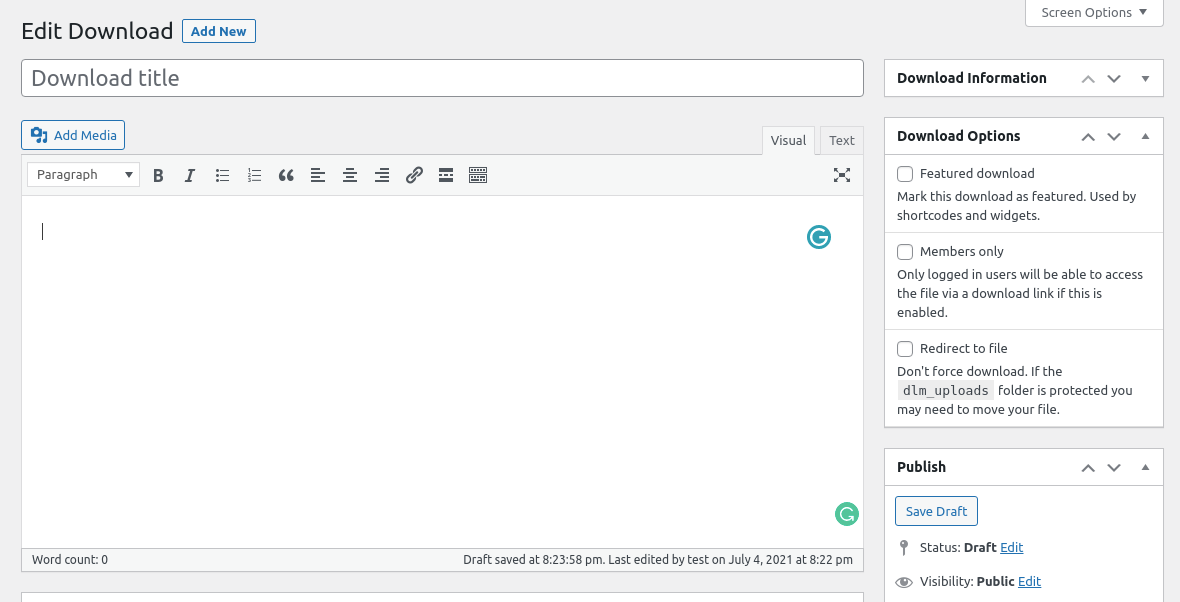
Each download will need a title, optional description, and a featured image just like a regular post. Give the appropriate title to your download and scroll down the page. You will see the “Downloadable file/Version” section just below the “description” section. Simply click on the “Add File” button.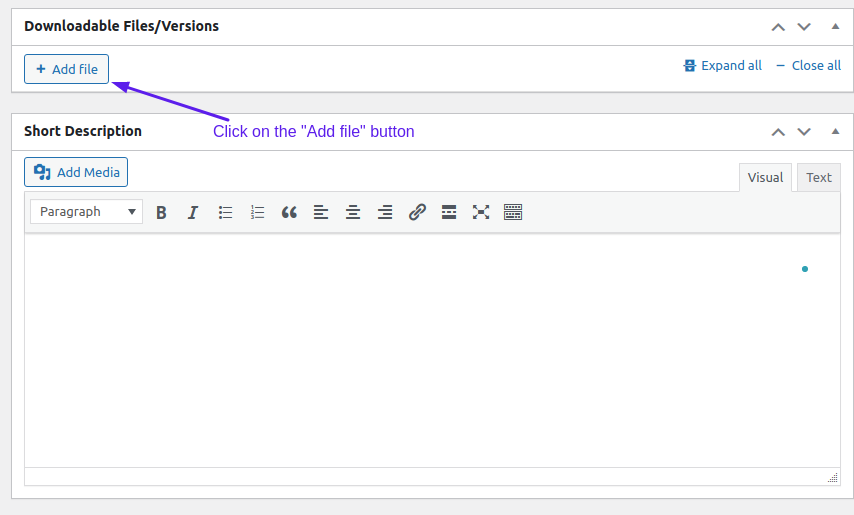
Now the plugin will ask you to upload a file or to browse for a file.
Click on the “Upload file” button to upload a file as you wish to add to the download from your computer or WordPress media library. You can tag and categorize your download. This makes it easy for you to manage and organize all files.
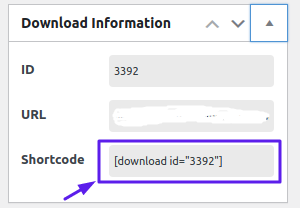
Once you upload a file, click on the “Publish” button located at the top right of the page. When the download is published, simply refresh the page. You will see a shortcode on the right side of your page. Just copy it.
SHOW THE DOWNLOAD ON A PAGE OR POST
Now open a new post or page, give an appropriate title that suits your download. Paste the shortcode just below the title and publish the post.
Each download has its own unique shortcode. Once you create one download, you can assign other downloads to the same page or post by just pasting its shortcode.
The download count depends on the visitor’s IP address. e.g. if you download the file multiple times from the same device, the download remains the same. The downloads will be displayed according to the template you select.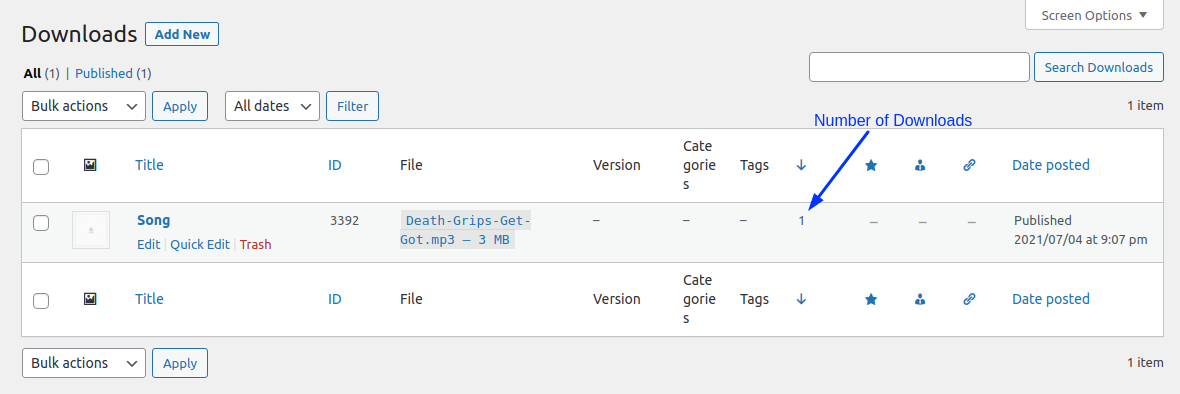
VIEW DOWNLOAD STATS
The plugin helps you track downloads information such as:
1. The total number of downloads: in the download list, you can see how many visitors have downloaded the file. You can see these statistics by hovering over “Download” and click on the “All Download” link.
2. Download Reports: to see the download report, mouse over the “Download” and click the “Report” link.
Here you can see statistics like daily average downloads, daily downloads, monthly downloads, and most popular downloads all on a bar graph or line graph.
Conclusion
Download Monitor is an ideal solution for those who want to sell digital stuff and track all information about downloads. The plugin saves your time and effort. It simply allows you to add files in a completely new post type created to support and make easier the file downloads.
That’s it. We hope this article helped you learn how to manage, track, and control file downloads in WordPress. If you are facing any technical issues, please contact our support staff for the quick help!
