Everything about basic actions in File Manager on cPanel
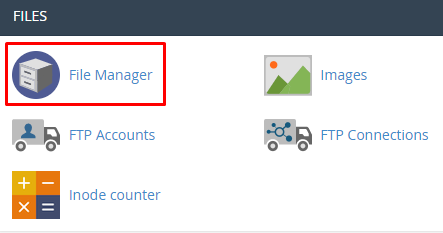
You can easily find your File Manager by opening your cPanel → Files section:
File Manager Bar Buttons

In this section, you can look for specific files in selected directories and also change the settings of your File Manager, like selecting the root directory to open by default when you open File Manager, show hidden files (dotfiles) and disable character encoding verification dialogs.
![]()
1. Home – takes you back to the directory designated for your hosting plan, which includes all of your other folders and files, like public_html. The path for its /home/your cPanel username.
2.Up One Level – takes you to the folder above the one you’re at the moment according to the directory tree.
3. Back – takes you back to the directory you were previously.
4. Forward – takes you back to the directory you just left.
5. Reload – refreshes the directory you’re performing on (for once you uploaded/changed files via FTP while File Manager was open and you would like to see the changes).
6. Select All – select all the files within the directory.
7. Unselect All – unselect all the files within the directory.
8. View - – shows a list of deleted files.
9. Empty Trash – deletes all files from trash.
Context Menu
The context menu will be activated once a specific file or directory is chosen (and equivalent functions also can be seen by right-clicking):

![]()
1. File – allows you to make a file in the folder you’re browsing at the moment.
2. Folder – allows you to create a new directory.
3. Copy – select this option to duplicate a file or folder to an equivalent or different location. The process is similar to the Move settings.
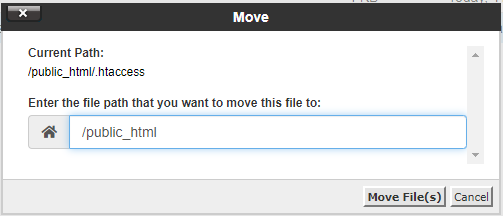
4. Move – allows you to transfer the chose file or folder to the same or different directory. To select the new directory just write down its path and click on Move File(s):
5. Upload – opens a pop-up window that allows you to select a new file to upload (up to 256 MB).
6. Download – it simply downloads the chosen file or archive (up to 256 MB).
7. Delete – permanently erases the chosen file or folder.
8. Restore – restores a file or folder from the trash.
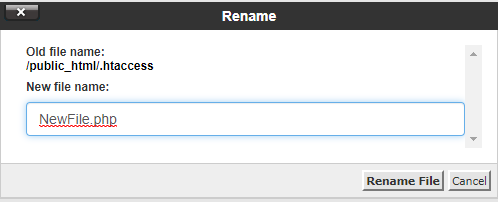
9. Rename – allows you to edit the name of a file or folder:
10. Edit – select this option to edit text files.
11. HTML Editor – opens the HTML file in a HTML editor.
12. Permissions – specifies authorization with the read, write, or execute file and directory options:
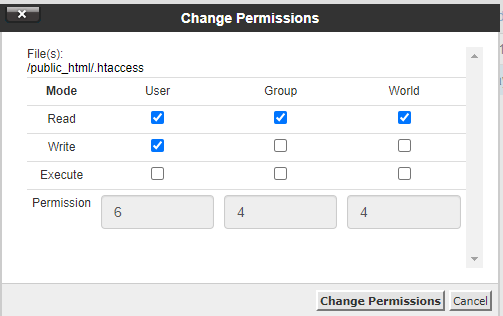
Default permissions for files are 644 or:
- Owner - Read, Write
- Group - Read
- World - Read
Default permissions for folders are 755 or:
- Owner - Read, Write, Execute
- Group - Read, Execute
- World - Read, Execute
13. View – view the content of the file in a new window.
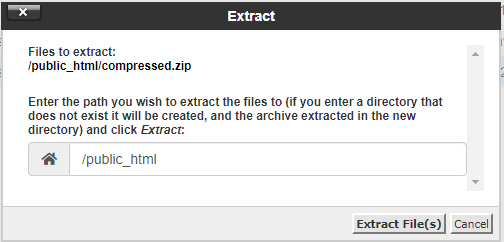
14. Extract – can only be seen when a compressed file is chosen, it allows you to extract your archive to the required location:
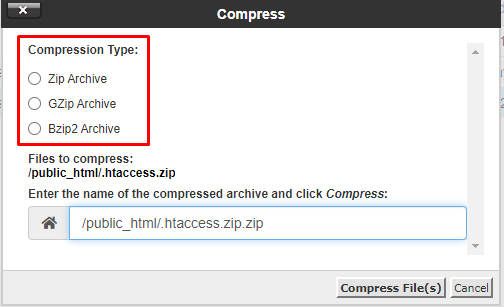
15. Compress – as its name says, it allows you to compress a file or folder into an archived format (compressed archive has to be smaller than 256 MB).
You can select between three formats:
That’s it! Now you know the way to manage your files in our File Manager
NOTES:
- Make sure your files and folders are placed inside the public_html folder, as it’s a root folder of your website. This way all your website content will be displayed correctly.
- As public_html is your root folder, please don’t delete it or any of its parent folders to make sure the website's stable works.
- Deleting your files is a non-revertible action, so if mistakenly deleted your files, you’ll restore them via backup.
- When renaming files confirm to not remove your file extensions (for example file.php to file) – as it might make the file unavailable.
- When extracting a file, if your specified folder doesn’t exist, it’ll be created automatically.
- On File Manager, you’ll extract archives with a size of less than 256 MB, if your archive is bigger you’ll extract it via SSH.
- Also, if compressing files through File Manager doesn’t work or you wish to compress bigger files, you’ll do that easily via SSH.
